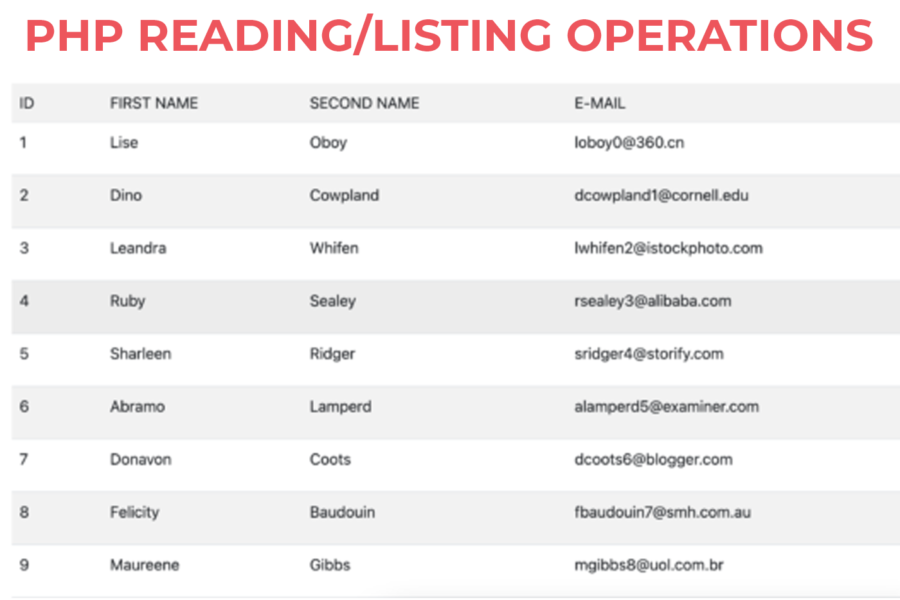
Hello everyone,
Today we will learn updating operations in php. We saw data deleting in the previous lesson. Above all, i would like to explain all our processing step by step again.
HOW TO DO UPDATING OPERATIONS IN PHP ?
- In fact, in this step, we will perform operations similar to delete operations. Above all, we need to capture the id’s of all data. Because we will do the update operations over the ids of the data. We will do this through the update button on the listing page. We have no update button. But we will add this button.
- Then, we will create a new update page. And we will fetch the data this update page.
- Lastly, we will replace the old values with the new values with the help of a query.
UPDATE
FIRST STEP
Above all, we will add update button on the table. This button will be in the <td> inside the loop. And we are creating url at the same time.
<a href="update.php?id=<?= $sorgular->id ?>" ><button type="button" class="btn btn-outline-success">UPDATE</button></a>Now, our list will look like this.

SECOND STEP
Now, we are creating update page. I will create 3 input text area and only one button. Maybe later, we can update to photo. For this, we will first create a form field.
<form action="" method="post" class="row mt-3 g-3"> <div class="row"> <div class="col"> <input type="text" class="form-control" name="name" value="<?= $verigetir['name'] ?>"> </div> <div class="col"> <input type="text" class="form-control" name="city"value="<?= $verigetir['city'] ?>"> </div> <div class="col-12 mt-3"> <input type="email" class="form-control" name="email" value="<?= $verigetir['email'] ?>"> </div> <div class="col-12 mt-3"> <button type="submit" name="guncelle" class="btn btn-primary">KAYDET</button> </div></div> </form>Our update page will look like this.

THIRD STEP
Now let’s fetch our data according to the id of each clicked list element. Let’s call our database connection at the top of our page.
include 'baglan.php';Now let’s place our query just below our database connection.
if(isset($_POST['guncelle'])){ $update= $db->prepare("UPDATE icerik SET name=:name, city=:city, email=:email where id=:id"); $control= $guncelle->execute(array("name" => $_POST["name"], "city" => $_POST["city"], "email"=> $_POST["email"], "id"=> $_GET["id"])); if($control) { header("Location:index.php"); } else { echo "There is error!"; }}Let’s explain the process we did above. We prepared the query with the prepare method and ran it with the execute function. Afterwards, we checked whether such an id was sent to us via the get function. Then we update our data with the get function. If the update is complete, if there is no error in our data, we send it to the homepage. If an error occurred while updating, we return an error saying there is an error.
FOURTH STEP
Lastly, let’s put our already existing data into our input fields so that we can see the changed data.
$query= $db->prepare('SELECT * FROM icerik WHERE id = ?');$query->execute([$_GET['id']]);$fetchquery=$query->fetch(PDO::FETCH_ASSOC);That’s all! You did it.
And our update screen.

Final version of the update codes.
<?phpinclude 'baglan.php';if(isset($_POST['guncelle'])){ $guncelle = $db->prepare("UPDATE icerik SET name=:name, city=:city, email=:email where id=:id"); $kontrol= $guncelle->execute(array("name" => $_POST["name"], "city" => $_POST["city"], "email"=> $_POST["email"], "id"=> $_GET["id"])); if($kontrol) { header("Location:index.php"); } else { echo "There is error!"; }}$sorgu = $db->prepare('SELECT * FROM icerik WHERE id = ?');$sorgu->execute([$_GET['id']]);$verigetir=$sorgu->fetch(PDO::FETCH_ASSOC);?> <!doctype html><html lang="en"> <head> <!-- Required meta tags --> <meta charset="utf-8"> <meta name="viewport" content="width=device-width, initial-scale=1"> <!-- Bootstrap CSS --> <link href="https://cdn.jsdelivr.net/npm/bootstrap@5.1.3/dist/css/bootstrap.min.css" rel="stylesheet" integrity="sha384-1BmE4kWBq78iYhFldvKuhfTAU6auU8tT94WrHftjDbrCEXSU1oBoqyl2QvZ6jIW3" crossorigin="anonymous"> <title>UPDATE PAGE</title> </head> <body> <h1 class="display-1 text-center">UPDATE PAGE</h1> <div class="container"> <div class="row"> <form action="" method="post" class="row mt-3 g-3"> <div class="row"> <div class="col"> <input type="text" class="form-control" name="name" value="<?= $verigetir['name'] ?>"> </div> <div class="col"> <input type="text" class="form-control" name="city"value="<?= $verigetir['city'] ?>"> </div> <div class="col-12 mt-3"> <input type="email" class="form-control" name="email" value="<?= $verigetir['email'] ?>"> </div> <div class="col-12 mt-3"> <button type="submit" name="guncelle" class="btn btn-primary">KAYDET</button> </div></div> </form> </div> </div> </div> <!-- Optional JavaScript; choose one of the two! --> <!-- Option 1: Bootstrap Bundle with Popper --> <script src="https://cdn.jsdelivr.net/npm/bootstrap@5.1.3/dist/js/bootstrap.bundle.min.js" integrity="sha384-ka7Sk0Gln4gmtz2MlQnikT1wXgYsOg+OMhuP+IlRH9sENBO0LRn5q+8nbTov4+1p" crossorigin="anonymous"></script> <!-- Option 2: Separate Popper and Bootstrap JS --> <!-- <script src="https://cdn.jsdelivr.net/npm/@popperjs/core@2.10.2/dist/umd/popper.min.js" integrity="sha384-7+zCNj/IqJ95wo16oMtfsKbZ9ccEh31eOz1HGyDuCQ6wgnyJNSYdrPa03rtR1zdB" crossorigin="anonymous"></script> <script src="https://cdn.jsdelivr.net/npm/bootstrap@5.1.3/dist/js/bootstrap.min.js" integrity="sha384-QJHtvGhmr9XOIpI6YVutG+2QOK9T+ZnN4kzFN1RtK3zEFEIsxhlmWl5/YESvpZ13" crossorigin="anonymous"></script> --> </body></html>


